Crawls – All you need to know to get started
Crawling your site allows ScreenShooter to build a list of pages to ScreenShoot, if you just want to ScreenShoot the home page to test your project settings, or to test ScreenShooter out initially, you can Start a ScreenShooter Job straight away with no need to crawl
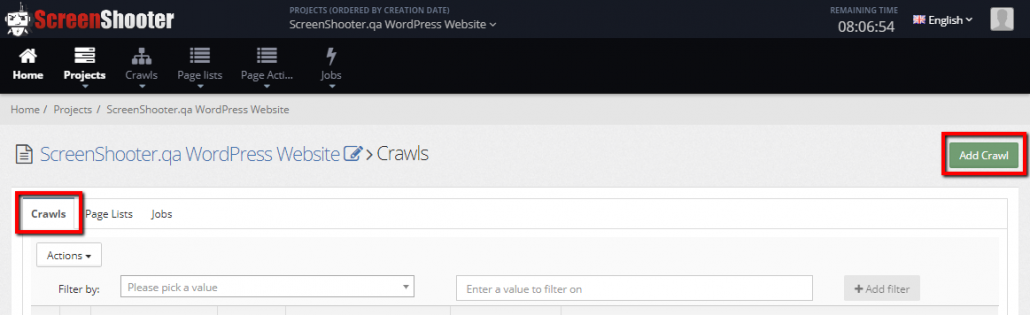
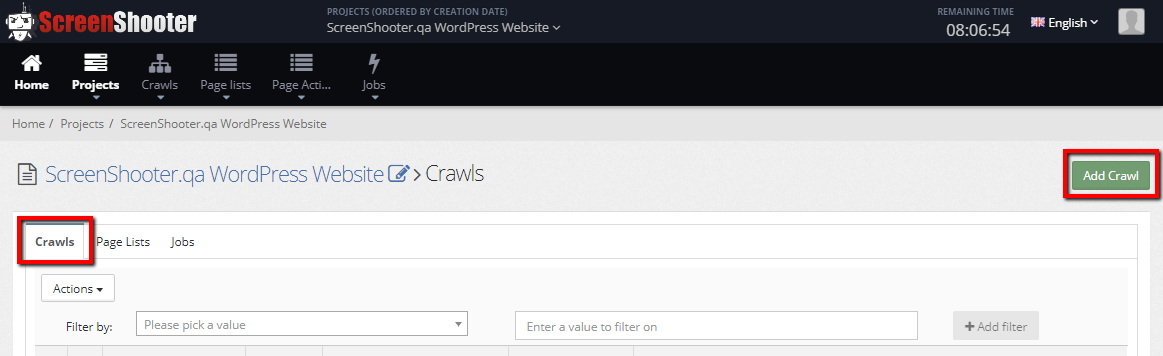
- Enter the project > Crawls > Add Crawl
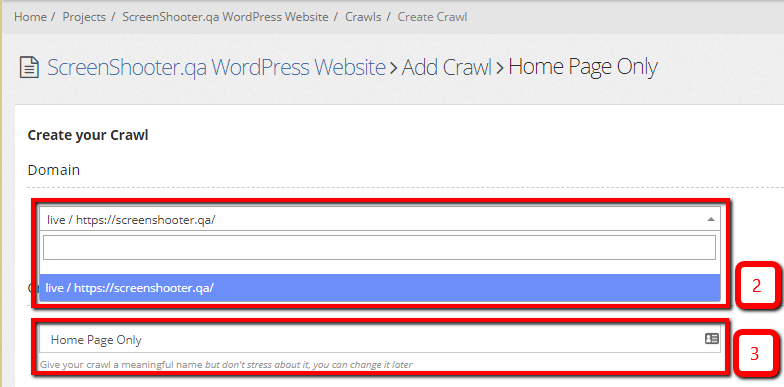
- Choose the domain you want to crawl from the dropdown list – because your domains are likely to have the same or similar lists of pages – you can use the results of a crawl of one domain for ScreenShooting a different domain if you want
- Give the crawl a name – You might want to include the website release version number, I generally build up my initial crawl library on a project by link depth so “Home Page Only” (this crawl is created automatically when the project is created. “1 Link from Home – Link Depth 2” etc..
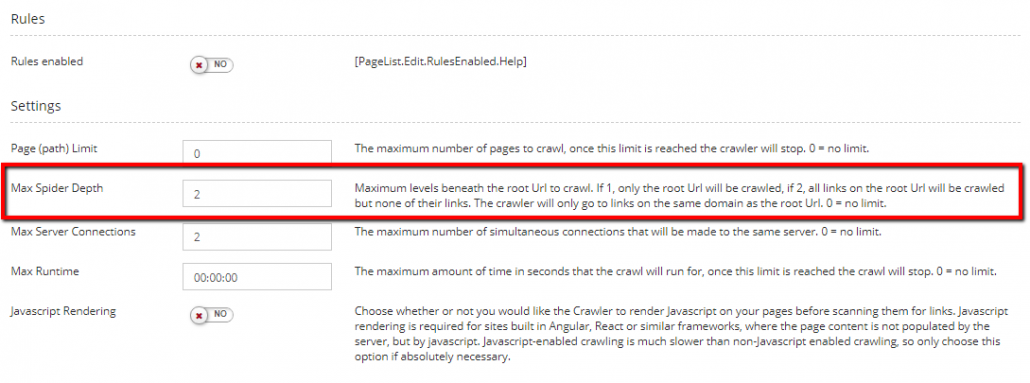
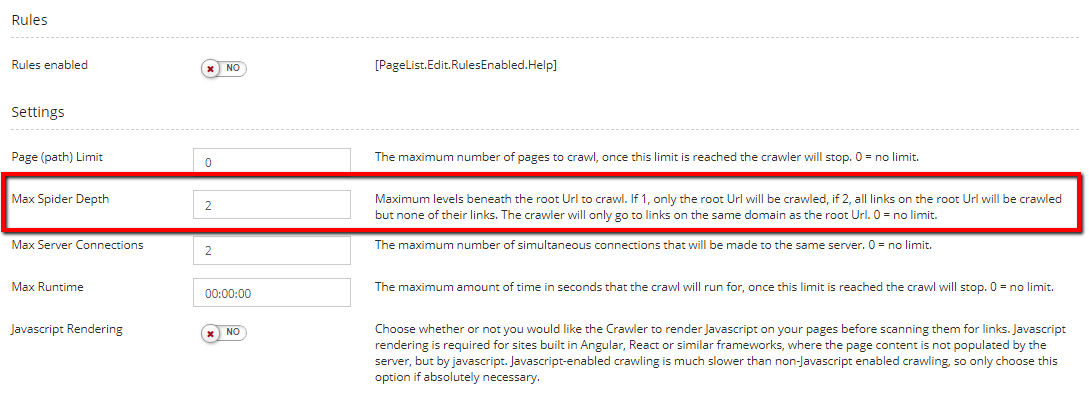
- Rules and Settings, there’s more detailed explanation below, but setting the Max Spider Depth to 2 is a good way to get a decent list of pages to work with as it gives you all the pages that are one click away from the home page.
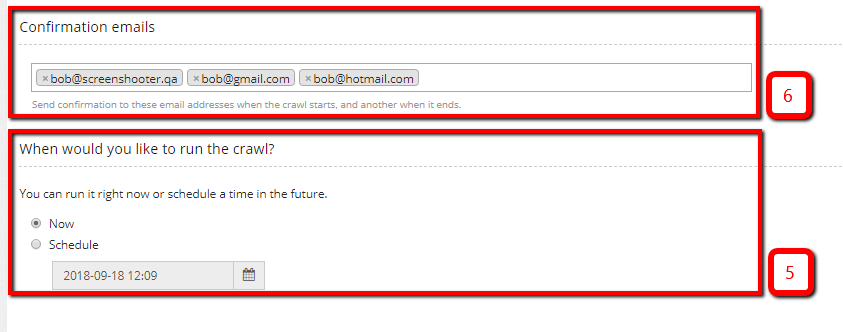
- Set when you want the crawl to happen, for big crawls on big sites you might want to set the crawl to happen outside of peak times. If your site is small or you’ve set a low positive value for max depth, the crawl will probably be pretty quick.
- Make sure your email address is set in the confirmation emails section so you get notified when your crawl is finished
Gradually increase your test coverage until eventually you’ve got coverage of every page of your site – then you can use different levels of quality control according to the likely impact of the changes you are releasing and the value to your business of being sure that every page is perfect. So ignore rules for now and ignore the other settings, just focus on Limit Spider Depth. Crawling will use up credit so set a limit of say 300 seconds the first time, 5 minutes of crawling should be ample to get a decent list of URLs for ScreenShooting.
So…
Now it gets exciting, because now you can run a ScreenShooter job
Crawl Rules and Settings in more depth
- Rules – If you don’t want to crawl the whole website – you can use rules to control the crawler – this is an advanced function and is not normally necessary on smallish websites – if you have more than a couple of hundred pages – you might want to think about using rules – typical use cases might be blogs with hundreds of posts with the same template or ecommerce sites with hundreds of products with the same template – whilst at some point you probably do want to quality control every page – initially you might want only to consider one page per template or one per page per blog or product category, you know your site, so you know what you need to test at each stage.
- Settings – if you have a big website (say more than a thousand pages) and you are in a hurry or you are new to ScreenShooter, you may want to limit the crawl by setting
- Page (path) limit – The crawler will stop when it reaches the limit. A setting of 0 means no limit.
- Limit spider depth – The crawler will be limited to only look for pages that are not more than this number of links from the base URL. 0 indicates no limit.
- Limit Server Connections – The maximum number of simultaneous connections that will be made to the same server. 0 = no limit. The more simultaneous connections you use, the faster your crawl will finish, but the more likely that either ScreenShooter will put excessive load on your server causing it to fall over, or your server’s firewall will block some of ScreenShooter’s connections causing you to get an incomplete crawl – the default value of 2 is deliberately set sensibly, don’t change it unless you know what you are doing 🙂