- Go to your Cloud Storage and check the ScreenShots, if you have an app that synchronises your cloud storage to your computer that’s great, but you can also review your ScreenShots in the browser using your Cloud Storage providers’ site – dropbox in full screen mode (on a desktop machine) for example works in a similar fashion to windows as described below.
- The first time you look for your images it’s a bit like playing Russian dolls but as you do more ScreenShooting you’ll see why we organise the folders like this.
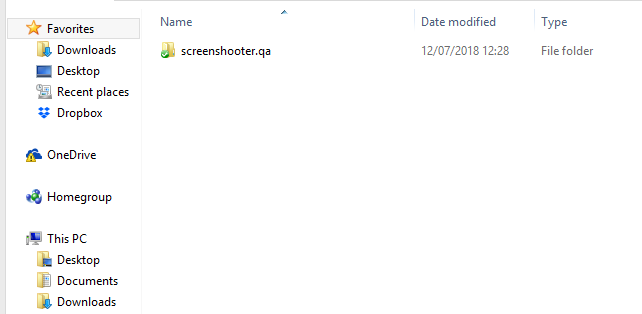
1 – PROJECT NAME

You’ll find a folder named the same as your project name in the root of your Cloud Storage according to your Cloud Storage configuration.
2 – DOMAIN
Inside, you’ll find a folder named as your domain.
3 – BROWSER
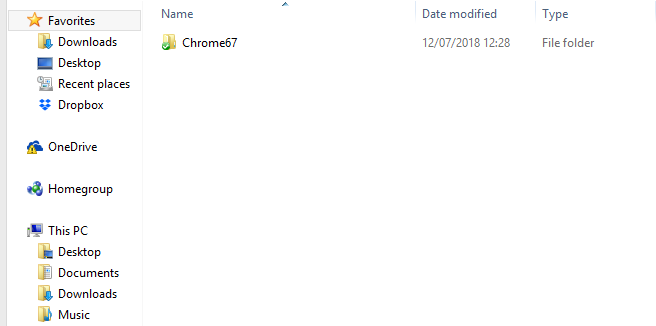
Inside, you’ll find a folder named as the browser you used for ScreenShooting. e.g. Chrome67
4 – RESOLUTION

Inside, you’ll find a folder named as the resolution you set. e.g. 1366×768
5 – DATE

Inside, you’ll find a folder named as the date YYMMDD_xx where xx identifies the ScreenShooter job number, (you can see this job number in the URL for the jobs in ScreenShooter), in the example we have run 3 jobs.
6 – YOUR SCREENSHOTS!
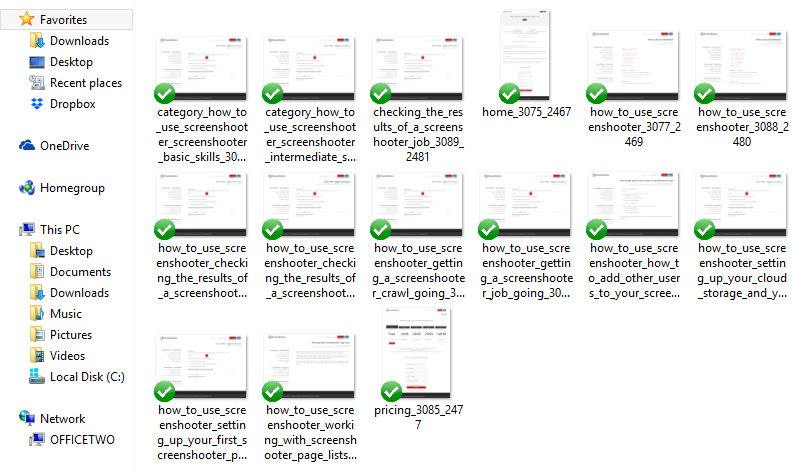
If your job didn’t compare with a reference, then you’ll find one folder inside called “New_pending_review” AND, INSIDE THERE, are your ScreenShots waiting for review
If your job did compare with a reference there may be other folders at this same level, “New_pending_review” will contain any ScreenShots for pages that don’t have reference images, “Changed_Pending_Review” will contain any ScreenShots where the image doesn’t match the reference and “Same” will contain any ScreenShots which match their reference – there’s normally no need to check images in the “Same” folder.
Tip: If you are on Windows we suggest you set the view to extra large icons. Here’s how for Windows 10
Now, you can get into Checking your ScreenShots and Setting up a reference